We all love to hold the hose and water the lawn every morning. But many of us don’t have enough time for that. Besides, a hose cannot often cover all the area evenly. So, some parts will leave without watering at all. In this case, a water sprinkler works the best. And do you know that you can set up a water sprinkler yourself?
Yes, setting up a water sprinkler on your lawn is not a critical task. But if you hire the service providers for that, you have to pay a lot of money. Instead, you can simply do it yourself with the help of a plumber who won’t charge a lot. Isn’t it sound interesting?
Well, if you are planning to get a water sprinkler for your lawn, you are in the right place. Today, we are going to cover the entire process of setting up a water sprinkler step by step. So, if you follow the whole content, you will definitely be b able to save a lot of money by setting up the DIY water sprinkler.
Preparation: Set Up A Water Sprinkler
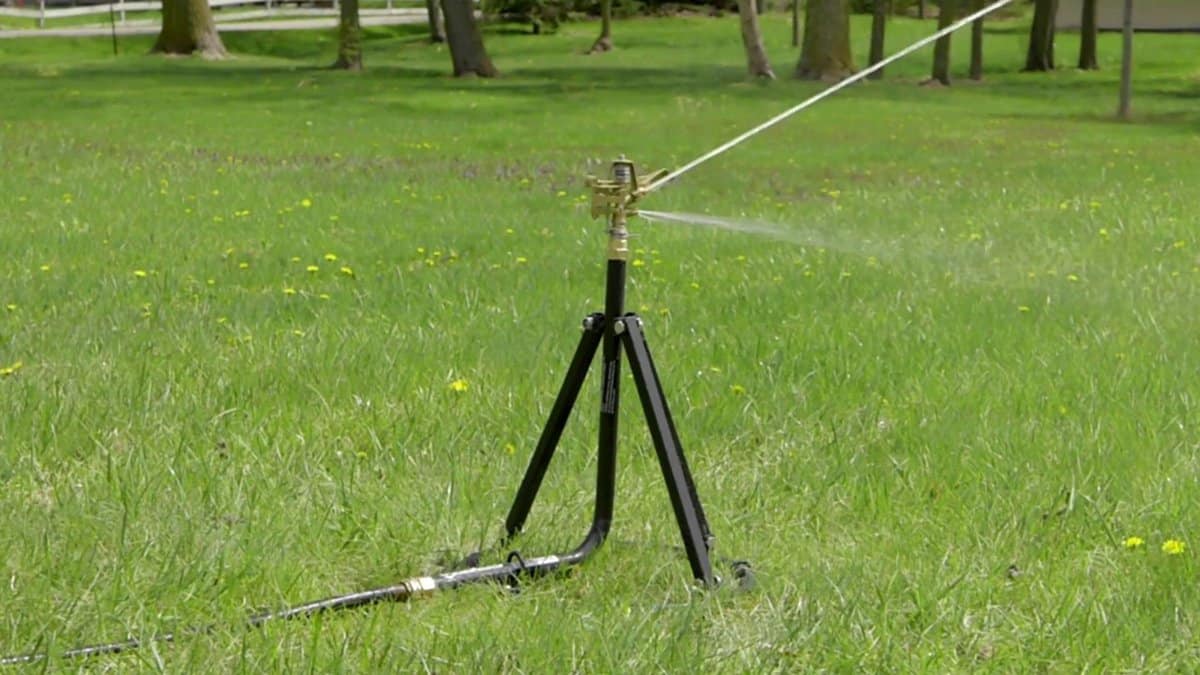
But that’s not enough. You need some other instruments to set it up. And secondly, you have to prepare a map of where you are going to set it up. So, first, learn about these two factors, and then we will head towards the main process.
1. Prepare the Instruments
First, you arrange everything you will need to set up a water sprinkler. For that, you should first check the instructions manual on the packet of the water sprinkler. There you will get all information about the instruments you will need.
Different products require different instruments. And that’s why we cannot specify exactly what you are going to need while setting up the sprinkler. Still, we can share with you a list of instruments that most sprinklers need.
- PVC pipes
- Water Riser
- A timer or stopwatch
- Control Valves
- The sprinkler parts
- Tool kit box
- Goggles and Gloves for protection
Besides, you will need some flags, sticks, shovels to dig the soil, and some common tools you must have at home.
2. Preparing the Underground Map
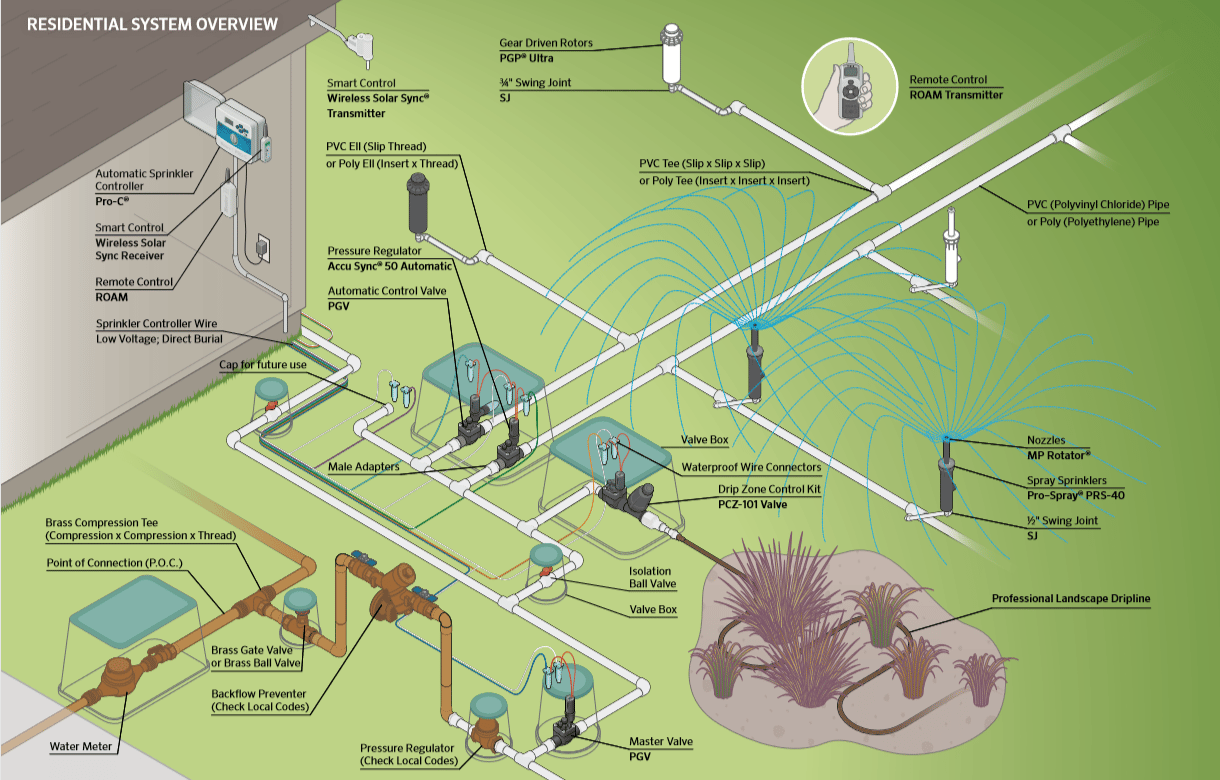
Make sure to draw everything perfectly around the lawn. The map should include every spot where you have a walkway, driveway, garage, water source, tree, fence, garden, and others. Now, think for a while and make a diagram of where you should set up the sprinkler. Make sure to point them in the specious places so that you can have perfect coverage.
Now, your map is ready. But that’s not all you have to do. Before starting the main process, you have to collect some information. You can get this information from the municipality or the water supplier.
However, you have to learn about the water pressure in PSI, the water flow rate, the size of the water meter, and the service line. You have to utilize this information later when you set the sprinkler.
Step by Step Process: Set up A Water Sprinkler

Step 1: Mark the Points on The Ground
You have to mark every point where the sprinkler can reach. You can make a dent on that points. In this case, you have to use some stakes or flags over the dents. Now, you have to connect the stake with the string which is bent with the pipe you use as a mark.
Step 2: Dig it
Digging a ditch helps you reach your DIY water sprinkler another step higher. Make sure to dig a trench for the tunnel. You should follow the stripe which was bent before. Pursue a proper measurement for your trench to get a better result. You need to give the trench a proportion of 8 to 10inches deep and 4 inches wide.
Step 3: Connect the Sprinkler Pipes

Step 4: Attach the Pipes to the Source of Water

At this point, you will need help from a plumber. He will fix the PVC sprinkler pipe with the control valve. It’s up to you whether you choose one or more valves to control water in the distinct places of your enclosure. You can place a riser along with the PVC pipe as well.
Step 5: Flush to Clean the Pipes
Once you set your sprinkler, ensure no debris is dwelling in the pipes. Before placing the sprinkler head, ensure the pipe’s inner side doesn’t contain any garbage during construction. You can do one thing to overcome it.
Just turn on the main water supply system and flush it out to confirm all the garbage is washed away before you water throughout your yard. If there is anything else in the pipe, it will wash away with the flush.
Step 6: Set the Sprinkler Heads
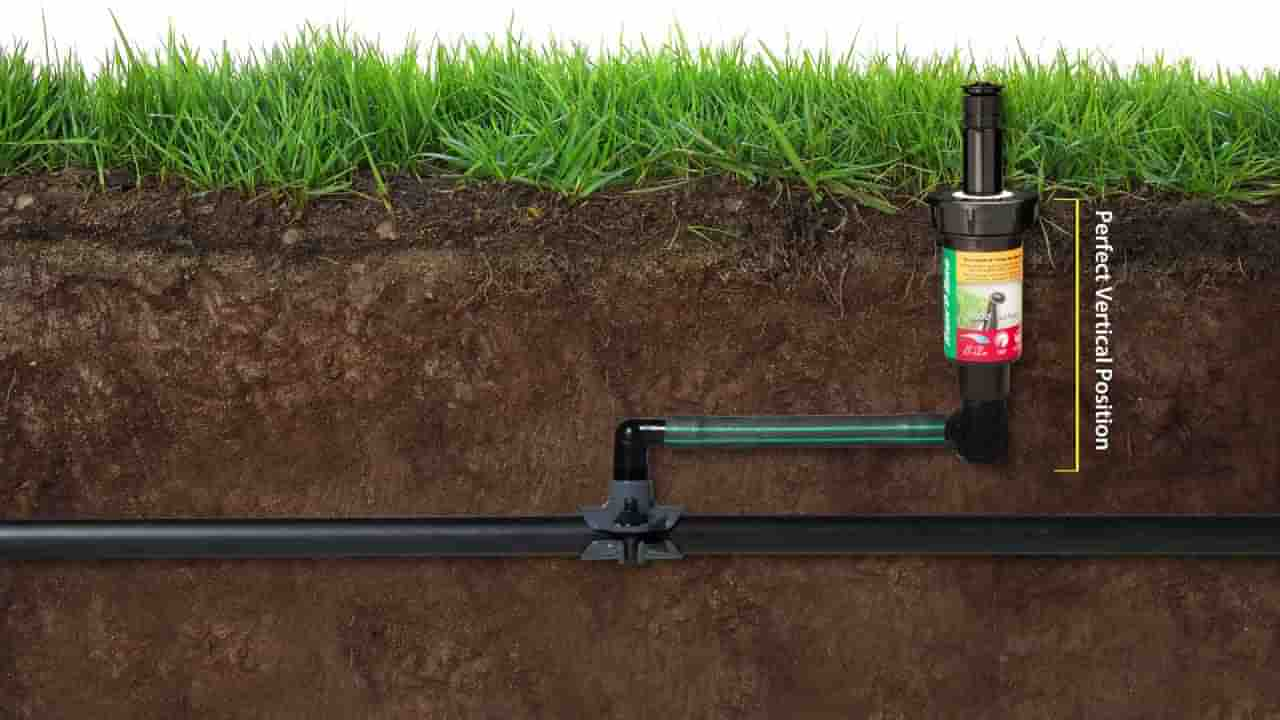
Step 7: Set the Timer
Setting a timer helps you to water in a different zone of your yard at different times. And every sprinkler cone with a setting option where you can find the time settings.
However, you can simply schedule programs and places around your yard before watering. Timer helps you cover the yard’s different zone at different times. And to set it, you have to connect it with a wire to the control valve using a waterproof tube.
Step 8: Test the Sprinkler
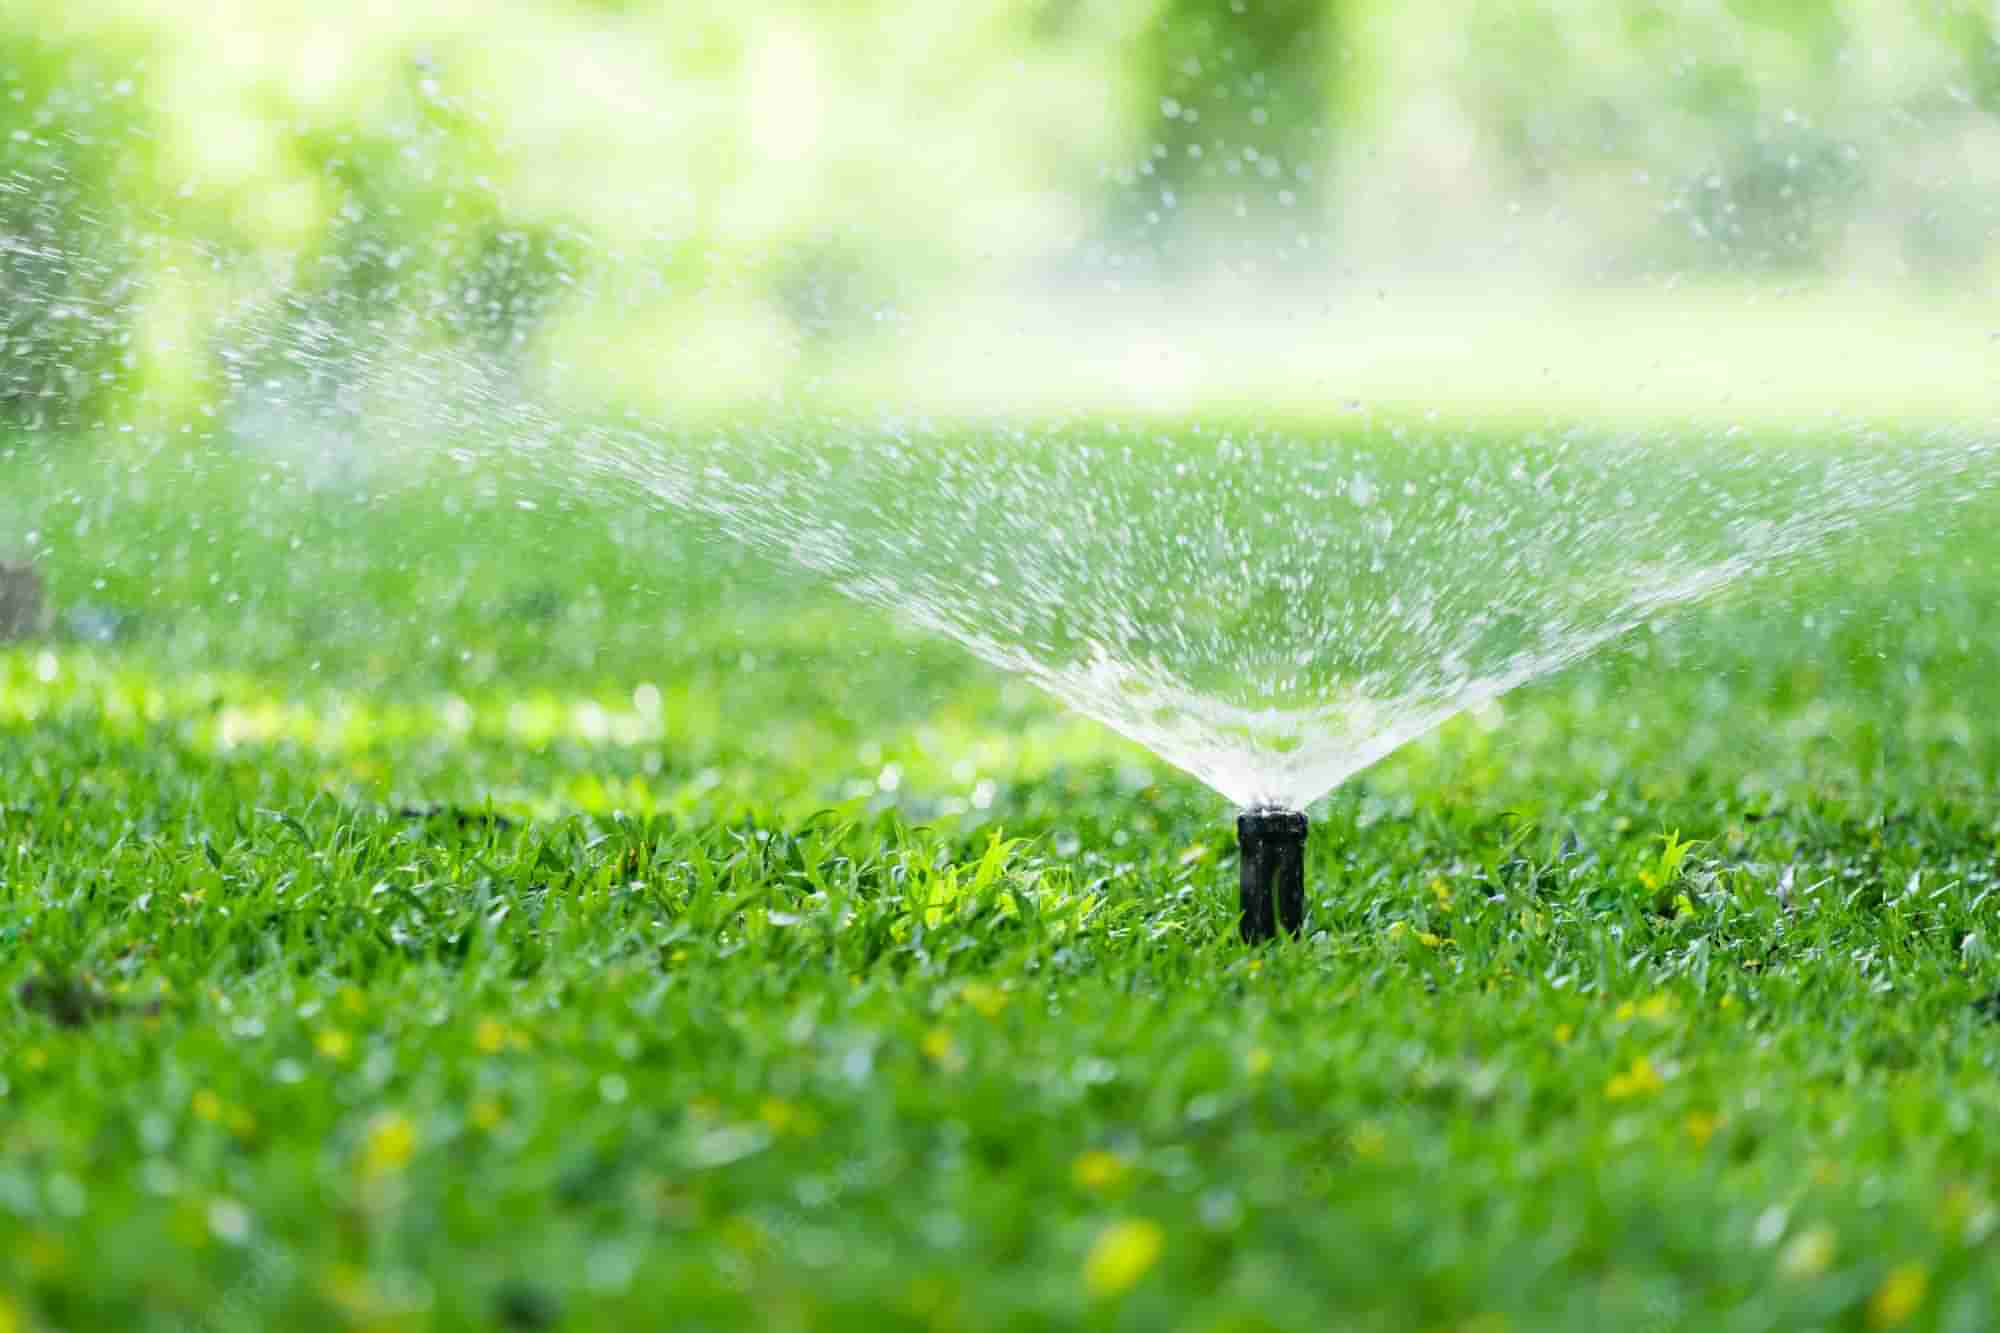
If you get into any trouble, make sure to unravel it. In this case, you better call a professional to fix the problem. Well, if there is nothing to fix and it works perfectly, then you are done.
You can now enjoy your very own water sprinkle system and get your lawn moist and healthy. The mentioned steps need to be followed sequentially. Otherwise, it will be difficult to set it up properly.
FAQ
Q: How many sprinkler heads can you put on a zone?
A: You can put out three sprinkler heads in each zone if you have 10 GPM home’s water capacity. You should still check the performance chart in the packet of the sprinkler to get the right information about your water sprinkler.
Q: What size pipe should I use for the sprinkler system?
A: The size of the pipe you will be going to connect to the water supply source should be around 20mm, which means 3/4 of an inch, or even more. And the pipe that you will set with the adapter should be more than 15mm, which means 1/2 of an inch or more.
Q: How can I find my sprinkler lines without digging?
A: You can easily find the sprinkler line without digging the area using a metal detector. If you don’t have any at home, you can simply rent a valve locator from the shop and mark the area where the sprinkler lines are located.
Q: What is good water pressure for a sprinkler system?
A: 30 Psi is the average water pressure for the sprinkler system. Though it varies based on area, you will get it from 30 to 50 Psi in most places. And it is the ideal water pressure for the sprinkler system.
Q: Does reducing pipe size increase pressure?
A: Yes, if you reduce the size of the pipe, the water pressure will increase. That’s why it is suggested to use a pipe that is no more than 20mm in diameter.
Final Thought
A water sprinkler is a very handy invention of technology that saves our time and effort. You can control the system and water the area you want. And for that, you don’t have to walk on the lawn holding the hose. You can simply turn on the sprinkler and see your lawn getting water perfectly. Also, you can check out the 10 most effective tips for a beautiful green lawn.
However, if you didn’t have any sprinklers before, and want to set up a new one, just follow the steps to set up a water sprinkler. The entire process will be easier if you follow the steps sequentially. I am sure that you will do it just by yourself perfectly.
If you get any problem, you better talk to a professional in the case. But if you have any queries, you can ask us in the comment section. We will definitely help you to find the solution. Thank you for your time.
